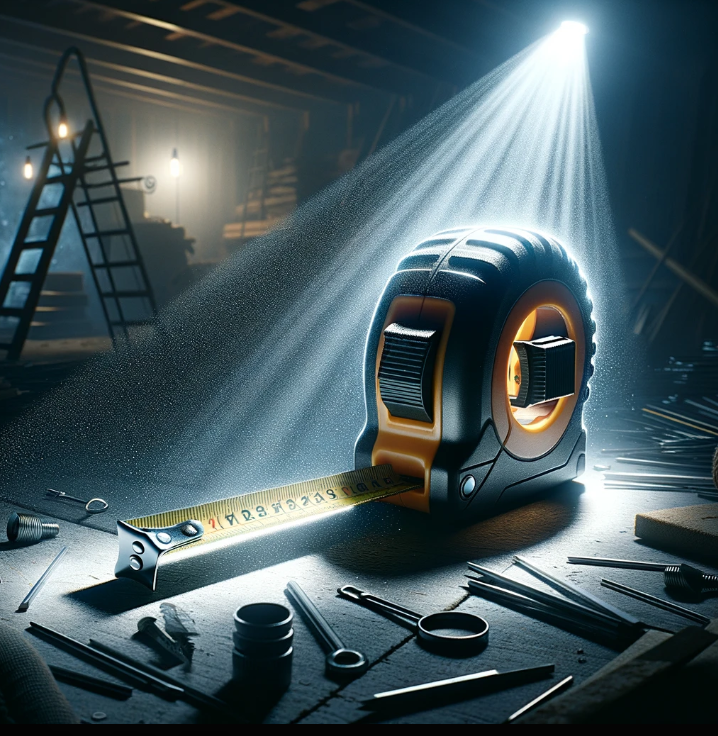
Dim lighting shouldn’t dim your DIY dreams! Measuring accurately in low light conditions can feel like a daunting task, but fear not! This guide equips you with essential tips and tricks to transform your tape measure into a beacon of precision, even in the shadows.
Keywords: reading tape measure low light, measuring in dark conditions, DIY tips, tape measure guide, low light solutions
1. Harness the Power of Light: The most obvious solution is to bring in more light! Use a flashlight, headlamp, or even your phone’s flashlight to illuminate the measurement area and the tape measure itself.
2. Reflect for Accuracy: Look for tape measures with reflective markings or coatings. These reflect light, making them easier to read in low-light situations. Bonus points for glow-in-the-dark options!
3. Magnification Matters: Invest in a small magnifying glass. It helps enlarge the markings, making them more visible in dim light, especially for those tiny fractions.
4. Color Contrast is Key: Choose a tape measure with high-contrast colors. Bold black markings on a bright yellow or white background are generally easier to read in low light than muted color combinations.
5. Mark it Up (Temporarily): If your tape measure lacks reflective features, use a white pencil or temporary marker to highlight the relevant markings before taking the measurement. Just remember to erase or clean the marks afterward.
6. Feel the Lines: While not ideal, you can sometimes use touch to your advantage. Run your finger along the tape measure to feel the raised lines representing inches and fractions. This can be helpful for quick, rough measurements in very low light.
7. Embrace Technology: Consider digital tape measures. They often have backlit displays, making them perfect for low-light environments. Some even offer additional features like memory and area calculation.
8. Teamwork Makes the Dream Work: When possible, enlist the help of another person. One person can hold the light source, while the other focuses on reading the tape measure.
9. Practice Makes Perfect: The more you use your tape measure in low light, the more comfortable you’ll become with the different techniques. Practice makes even the dimmest situations manageable!
10. Know Your Limits: Don’t be afraid to admit when the lighting is simply too dark for accurate measurements. It’s better to wait for better conditions than risk introducing errors into your project.
Bonus Tip: Store your tape measure in a cool, dry place to prevent the markings from fading over time, making them even harder to read in low light.
Your Trusted Tool: Maintaining and Calibrating
Your trusty tape measure is more than just a tool;...
Read MoreFinding Your Perfect Partner: Choosing the
Whether you’re a seasoned DIYer or a crafting enthusiast embarking...
Read MoreConquering the Darkness: Reading Tape Measures
Dim lighting shouldn’t dim your DIY dreams! Measuring accurately in...
Read MoreBeyond the Basics: Advanced Techniques for
Mastering the fundamentals of reading a tape measure is essential...
Read MoreMastering Tape Measure Readings: A Beginner’s
Feeling intimidated by that jumble of lines on your tape...
Read MoreConquer Your DIY Dreams: Mastering Tape
Unleash your inner handyman (or handywoman!) with the essential guide...
Read More


