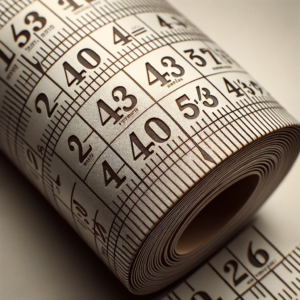
Precision in measurements can be the difference between a job well done and a disastrous outcome, especially in fields like construction, carpentry, or DIY projects. This guide delves deep into understanding the more intricate parts of reading a tape measure.
1. Reading Fractions on a Tape Measure
Most imperial tape measures divide an inch into fractions. Reading these fractions can seem daunting, but with a little understanding, it becomes straightforward.

a. Divisions: An inch on a standard tape measure is often divided into 16ths. Hence, the smallest marking is 1/16 of an inch.
b. Halfway Point: The longest line in the middle of two large numbers is the 1/2 inch mark.
c. Quarter Points: The next longest lines represent 1/4 and 3/4 marks.
d. The Rest: The remaining lines are for the 1/8th, 3/8th, 5/8th, 7/8th, and so on.
2. Understanding Black Diamonds on Tape Measure
Black diamonds, also known as truss marks, appear on some tape measures. They assist in spacing for trusses and studs in construction.

a. Placement: Typically, these diamonds appear at 19.2-inch intervals. If you divide 8 feet (96 inches) by 5, you’ll get 19.2 inches.
b. Purpose: By using the 19.2-inch spacing instead of the traditional 16-inch spacing, builders can get 5 trusses or studs in 8 feet, which can save on materials.
3. Reading Tape Measure in 16ths, 8ths, etc.
It’s crucial to be fluent in reading the various divisions of an inch to ensure precise measurements.

a. 16ths: The smallest lines on most tape measures. Every line counts. For example, 4 lines from a whole number is 4/16, which simplifies to 1/4.
b. 8ths: These are a bit longer than the 16ths and include every second small line. For instance, 6 lines from a whole number is 6/8, simplified to 3/4.
c. 4ths: Even longer lines that include every fourth small line.
d. Halves: The longest line between whole numbers.
